How to make homemade Kimchi
Making your own homemade kimchi sounds really difficult and scary but it’s pretty simple. Kimchi is a Korean fermented dish that has spread around the world and loved for its spicy sour combo. It brings spice and flavour to everything it touches and I recommend you keep a jar in the fridge to jazz up simple meals like eggs, chicken breast, smashed avo, salads, cheese toasties.
What is kimchi?
Kimchi is a Korean fermented dish that has spread around the world and loved for its spicy sour combo. Traditionally made from cabbage, radish, garlic, ginger, gochugaru (Korean chili flakes) and fish sauce. But there are many other combo’s too.
What’s the deal with Kimchi and other fermented foods?
Fermented foods are beneficial for gut health and offer a range of benefits. As the vegetables are fermented, usually with salt as the fermenting ingredients (sometimes whey). The water content of the vegetable is drawn out and mixes with the salt to create a salty brine. The vegetables and their juice are packed into jars and submerged under the brine and left with a lid on for days or weeks or months to create a powerhouse ingredient that every home fridge needs (in my opinion).
Eating fermented foods is the same as taking a probiotic like Inner Health Plus… or way better Only you’ve made it yourself and it’s cost you almost nothing to make. Each fermented food has a different profile of bacteria, so eating a vast range is your best option to positively feed your microbiome.
Other fermented foods are: Sauerkraut, yoghurt, kefir, sourdough, kombucha and many more.
There are so many benefits from eating fermented foods like – boosting the immune system, regulating blood sugar, beautifying the skin (yep it helps keep it smooth and clear) and the list goes on.
Should I make my own kimchi or buy it?
You can buy fermented foods fairly widely now. They’re not all created equal but the good ones are usually quite expensive to buy costing almost $20 for a 500mL – 1L jar. Of course, convenience costs money but to make a similar sized jar could cost you around $3 or nothing if you’re using old vegetables you were potentially going to throw out.
To me this is the biggest benefit of fermenting your own foods. You can create a delicious distinct flavourful topping from foods that may have gone to waste. If any veggies are looking old, I quickly chop, salt and pack.
While kimchi and other fermented foods are cheap to make. The days or weeks of leaving your kimchi to ferment is usually where most people will run into some issues – and this is why store bought jars can cost a pretty penny.
How to make Kimchi
Equipment
- 1 large 3L glass jar (or a few small ones around 500mL)
- 1 large bowl
- knife + cutting board
- mortar and pestle
Ingredients
- 2 cabbage 1.5 - 2 kg total weight
- 1 daikon radish
- 5 large carrots
- 1 bunch spring onions about 7
- 2 apples or pears
- 70 g fresh ginger
- 5 cloves garlic
- 1/3 cup crushed red chili flakes
- ¼ cup good-quality sea salt
- ¼ cup fish sauce
Instructions
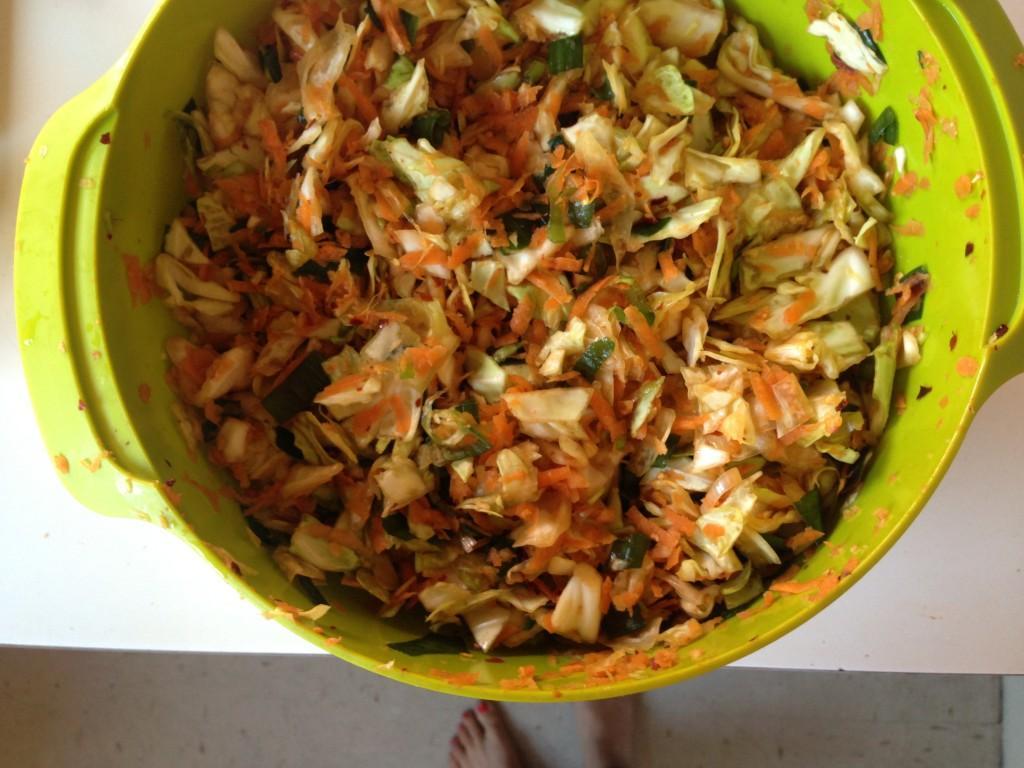
- Wash all veggies. Chop cabbage into bite-sized chunks, julienne or grate carrots, daikon, and apple. Slice green onion. Place all vegetables in a very large bowl.
- In a mortar and pestle blend ginger, garlic, and chilli until well combined. Add this mixture to the bowl of vegetables along with the salt.
- Mix and vigorously massage all ingredients together until the cabbage begins to soften and release fluid. Continue until you have a fair amount of liquid in the bottom of the bowl, about 4-5 minutes. The vegetables at this point should have lost much of their volume. Let the bowl sit out at room temperature for a few hours, massaging once or twice more. Season to taste.
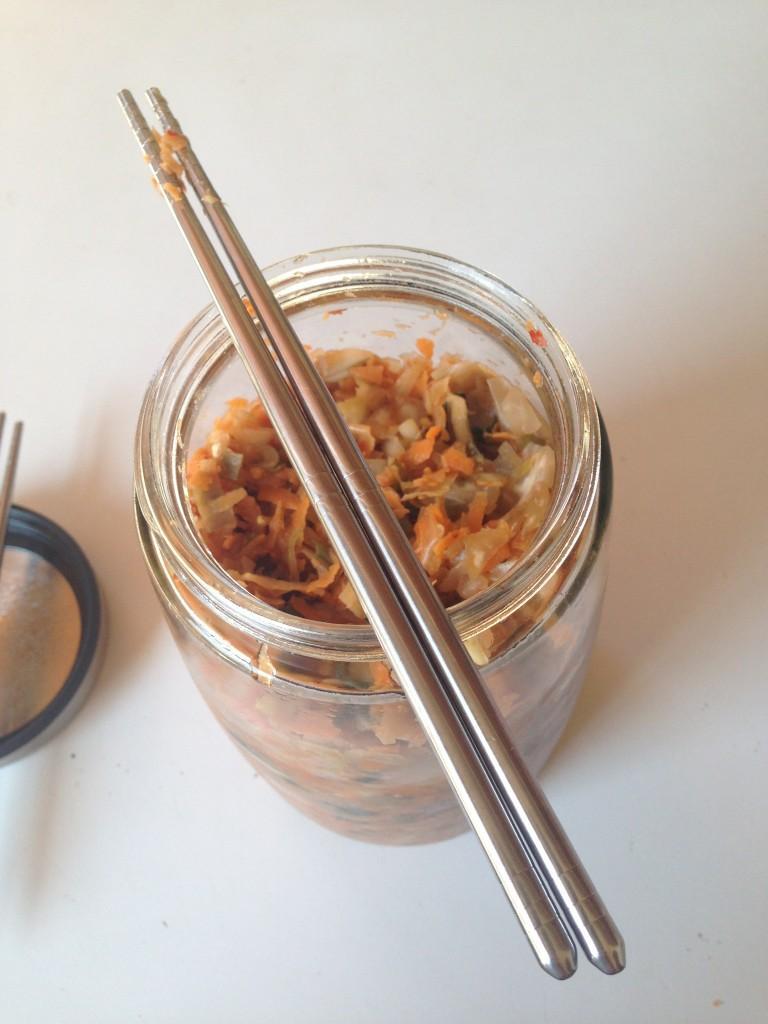
- In a large, sterilised jar (or several small ones), pack in the vegetables trying to avoid any air pockets. Make sure you cover the kimchi with the brine or top up with water to ensure it's fully submerged. As you fill your jars, leave a few inches of space at the top of the jar for the kimchi to expand.
- Cover the jar with a loosely with a lid, or make sure to open it periodically to release any pressure that may build up.
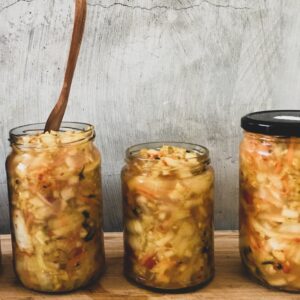
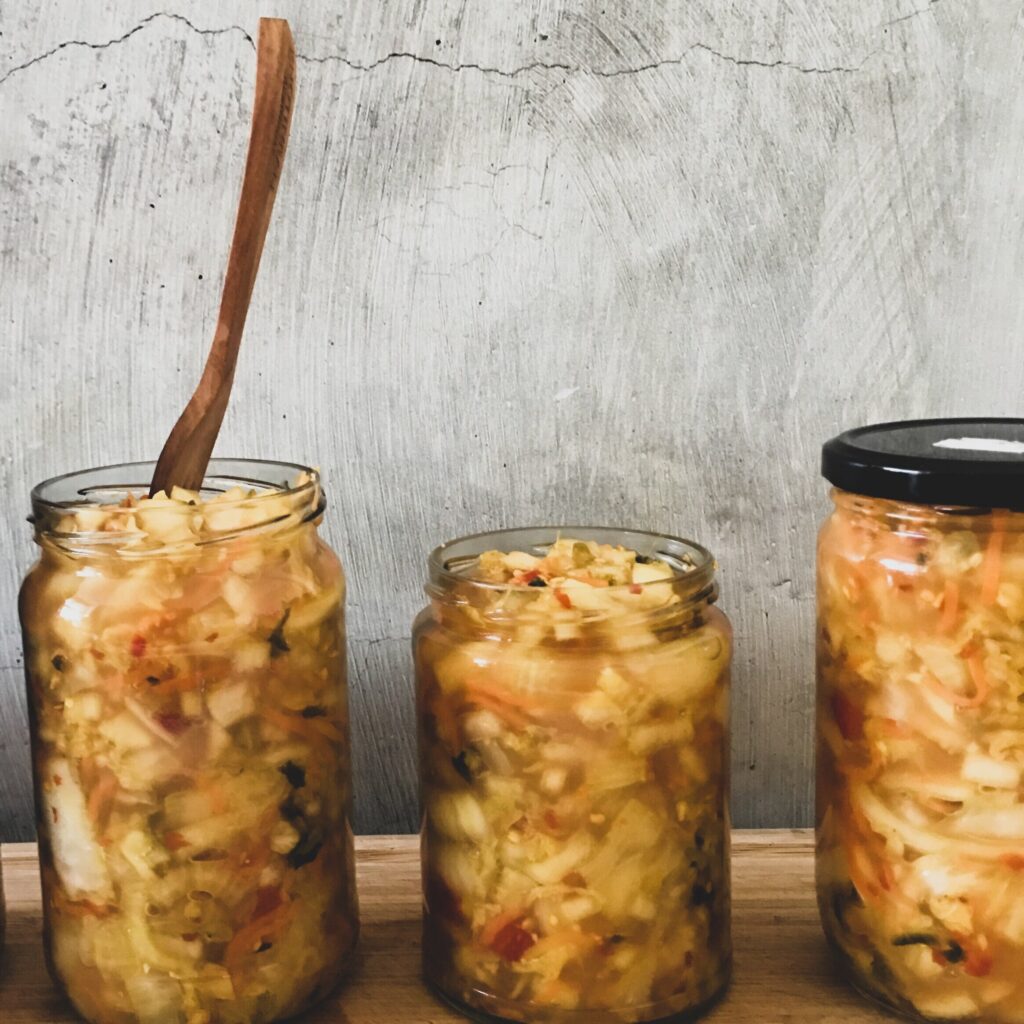
- Leave the jar on the counter for around 3 -5 days. The time to leave on the bench/in cupboard will depend on the weather. In warmer temperatures (over 24C) the fermentation process will happen faster. The longer you leave it out the stronger it tastes. You may see bubbles forming in the jar – this is carbon dioxide and totally normal.
- Open the jar everyday to let the carbon dioxide out. Taste the kimchi everyday and notice how it deepens in flavour and really takes hold by day 3. Once the flavour is to your liking, seal the jar and place in the fridge. Keeps for several months.
- Tip: After removing kimchi from the container to eat, push the remaining back down to keep most of the cabbage submerged in the brine (the liquid). This will help keep it fresh for longer.
Enjoy!
LLL xx


")