
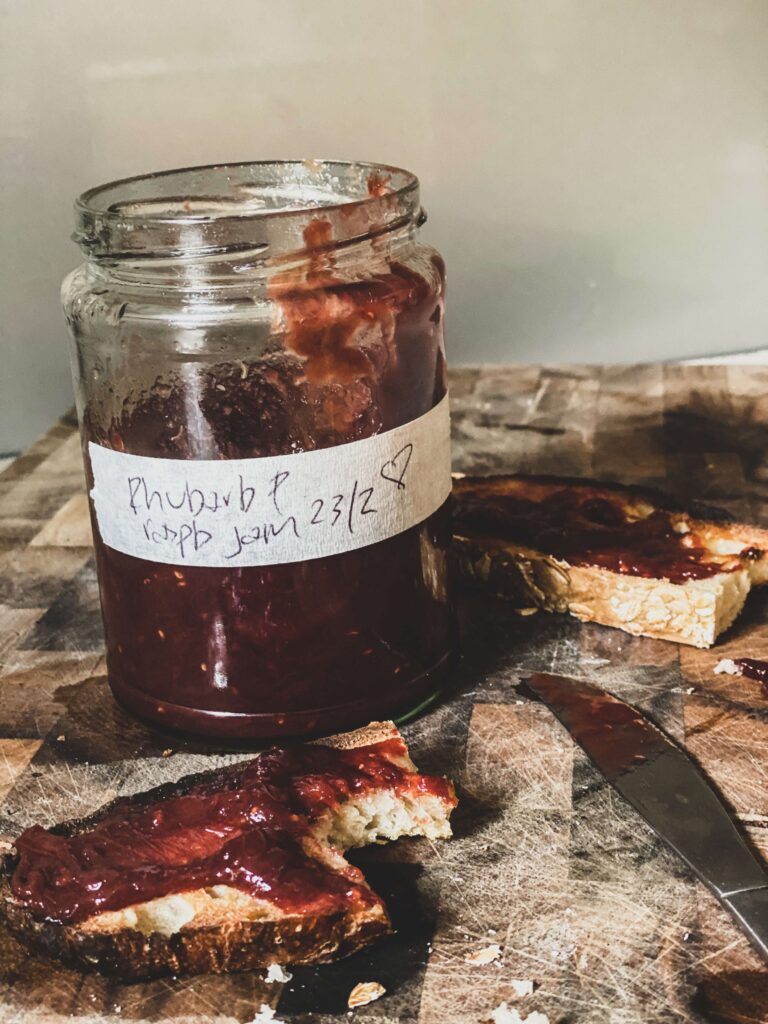
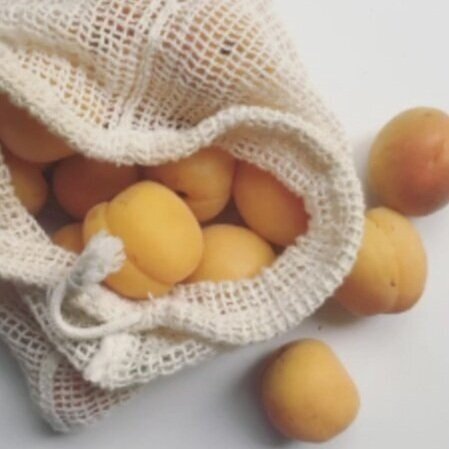
Apricot Jam
I made jam!
I love making jam. I grew up amongst the fruit trees and have many memories of my mum making apricot and plum jam. Not long ago we opened the last jar, made in the early 90’s – tasted exactly how I remember it.
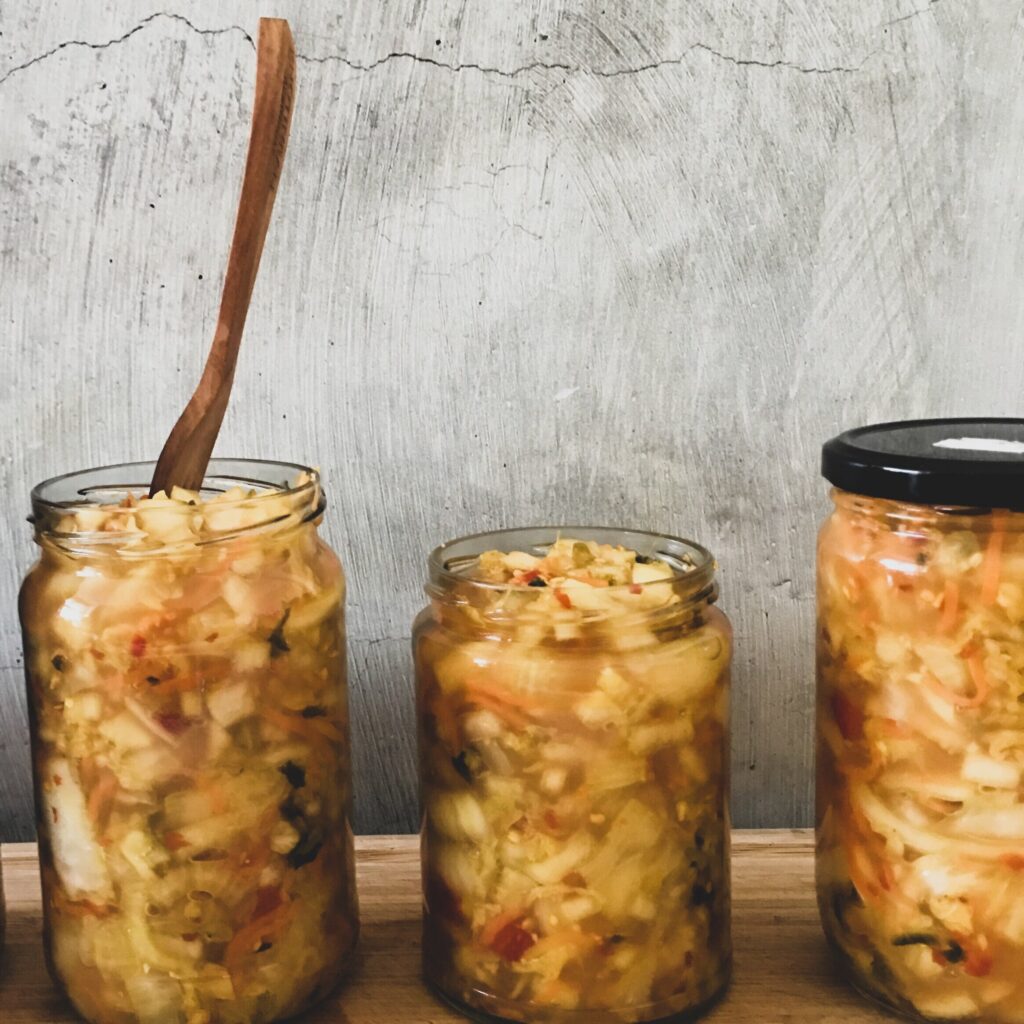
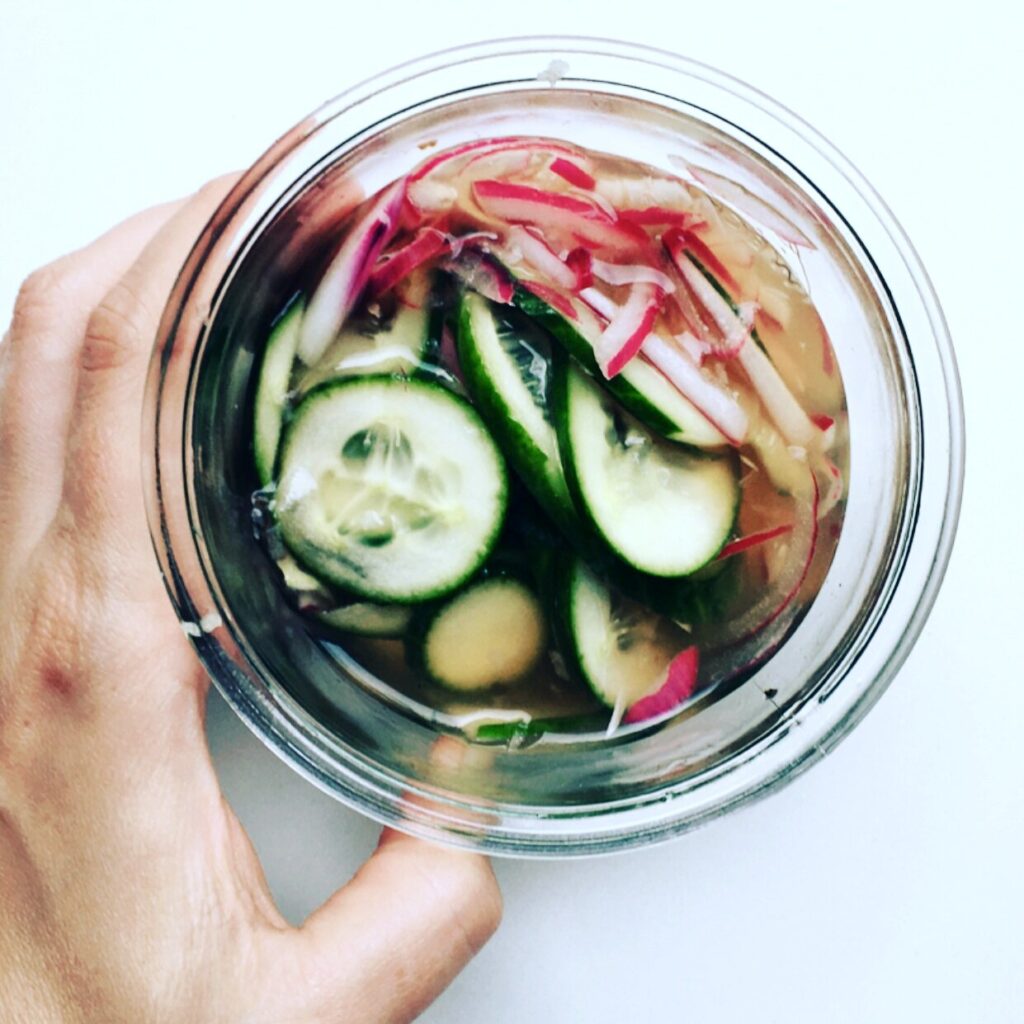
While I wouldn’t recommend you store your jam for close to 20 years, sugar is such a great way to preserve the seasons. Of course there are others, including salt for pickling, or using your oven for a dehydrator.
You may be worried about the sugar content, it’s 1:1 in this recipe, but here’s the thing: everybody loves jam!
It’s one of those things, seems scary to make but once you’ve done it once, you’re a pro. It’s all about keeping an eye on the pan.
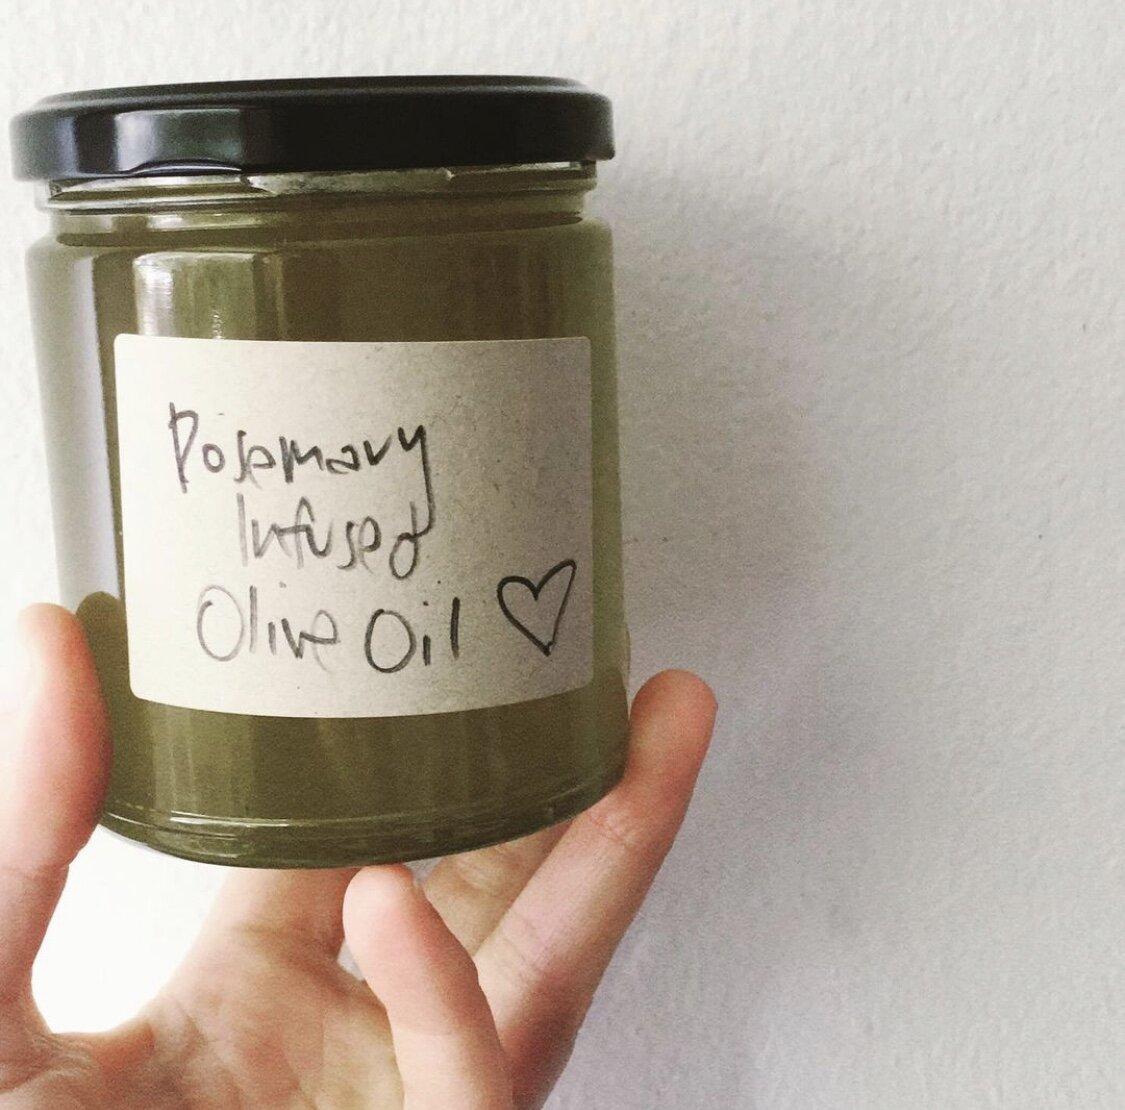
What I love the most about making jam at home, is making it for other people. Most people that walk into my house are carrying their jars from our last catch, hoping for a refill. If you’re looking for a low cost, high love homemade Christmas gift idea, for a batch of people – this homemade apricot jam is it.
Homemade Apricot Jam
Ingredients
-
1kg apricots
-
1 lemon, juice and zest
-
1/2 cup water
-
1kg caster sugar
Method
-
Sterilise your jars – this is really important to ensure proper safety of your jam when storing at room temperature in your pantry. Sterilising instructions below.
-
Halve apricots and deseed. Keep seeds, we’re cooking with them too, they add extra pectin which helps your jam set.
-
Place a few small saucers in the freezer, for testing the marmalades setting point later on.
-
Place a heavy base wide pan on a medium heat. Add apricots, seeds, water, lemon juice and zest. Mix well and cook gently for 15 minutes to soften apricots.
-
Add sugar and mix to combine. Dissolve sugar completely.
-
Increase heat slightly to create a boil, reduce heat to medium. Cook for around 30 – 45 minutes until jam is set. Stir occasionally so jam doesn’t catch on bottom of pan and boil.
-
Ensure your jars are still hot from sterilising – I keep them in the oven on 100 until I need them. Carefully pour jam into jars, wipe rims, firmly secure lid and turn upside down to cool, set and seal.
Turning your jar upside down reacts with the pressure of the lid, the heat of the jar and the heat of the jam to create a heat seal. This adds to safely storing your jam at room temperature. You’ll be able to tell if a proper seal has been created by lightly twisting the lid, it shouldn’t move. If you look at the lid it will dip in the middle slightly. -
Store opened/unsealed jam in fridge. Sealed jam will last in your pantry for a year (or 20 if you’re a part of my family).
A note on food safety – if your jam is discoloured, mouldy, has random ‘bits’ in it which you cannot identify, smells off – throw it out.
How to sterilise your jars and lids
-
Wash jars and lids really well in hot soapy water. Rinse them and place on clean tea towel.
-
Place jars in cold oven. Turn oven on and set temperature to 100 degrees C. Once oven is at 100 degrees C – time your jars for 10 minutes.
I keep my jars in the oven until I’m ready to fill with hot jam. This is so the glass jar and jam are at a similar temperature and saves glass breakages. -
Place lids in a pot, fill with water. Boil lids on a rolling boil for 15 minutes. Place on a clean tea towel to air dry.
How to tell if your jam is set
-
As you begin to cook your jam, your bubbles will be short and sharp – watch video for example.
-
As your jam cooks bubbles will changes to slower longer pops, there’ll also be less of them.
-
Remove a saucer from the freezer and spoon 1/2 teaspoon of jam onto cold saucer. Push your finger through jam.
If jam runs back together – it needs more time.
If jam stays separate – jam is done, take off heat immediately.
Learn to DIY your foodie Christmas gifts with the ultimate handmade/homemade
Get ready to make homemade care packages and gifts infused with love for your nearest + dearest. Made With Love is the perfect recipe book + gift guide for making simple gifts that look AMAZING. The kind of gifts you dream of making and gifting but never really knew how, that are budget friendly and simple – you can’t stuff these up. Cooking skills are not required.


")