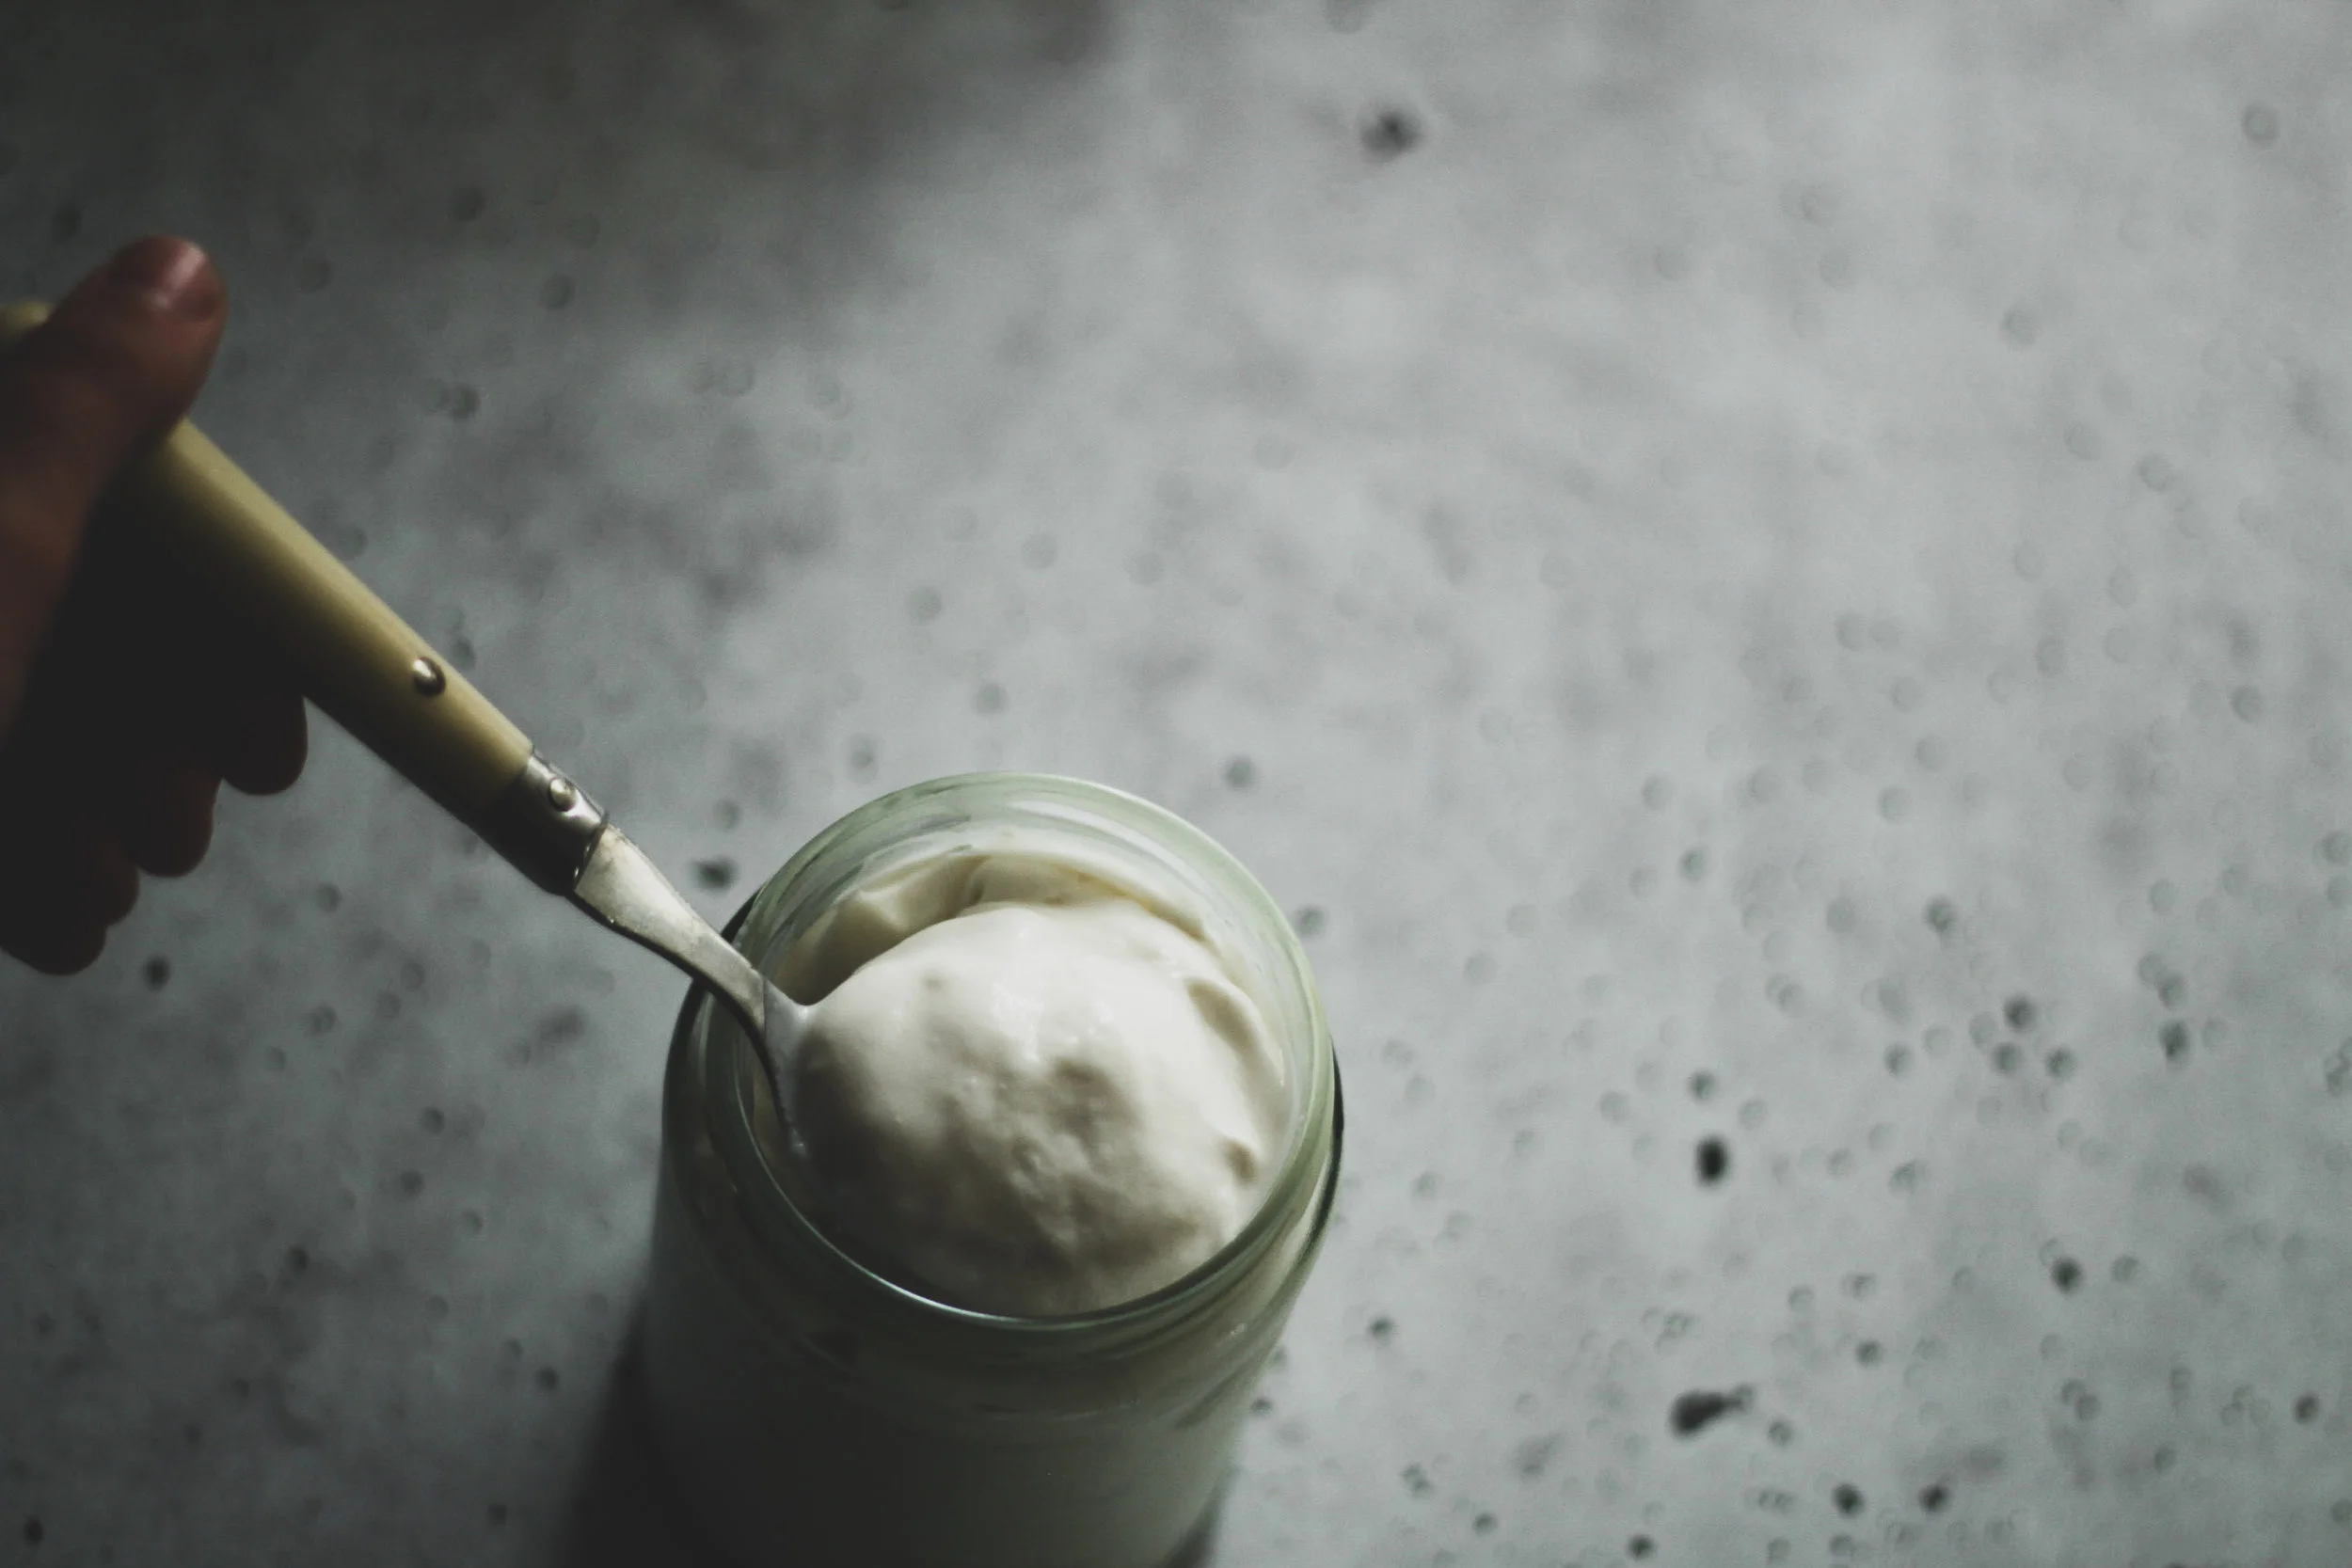
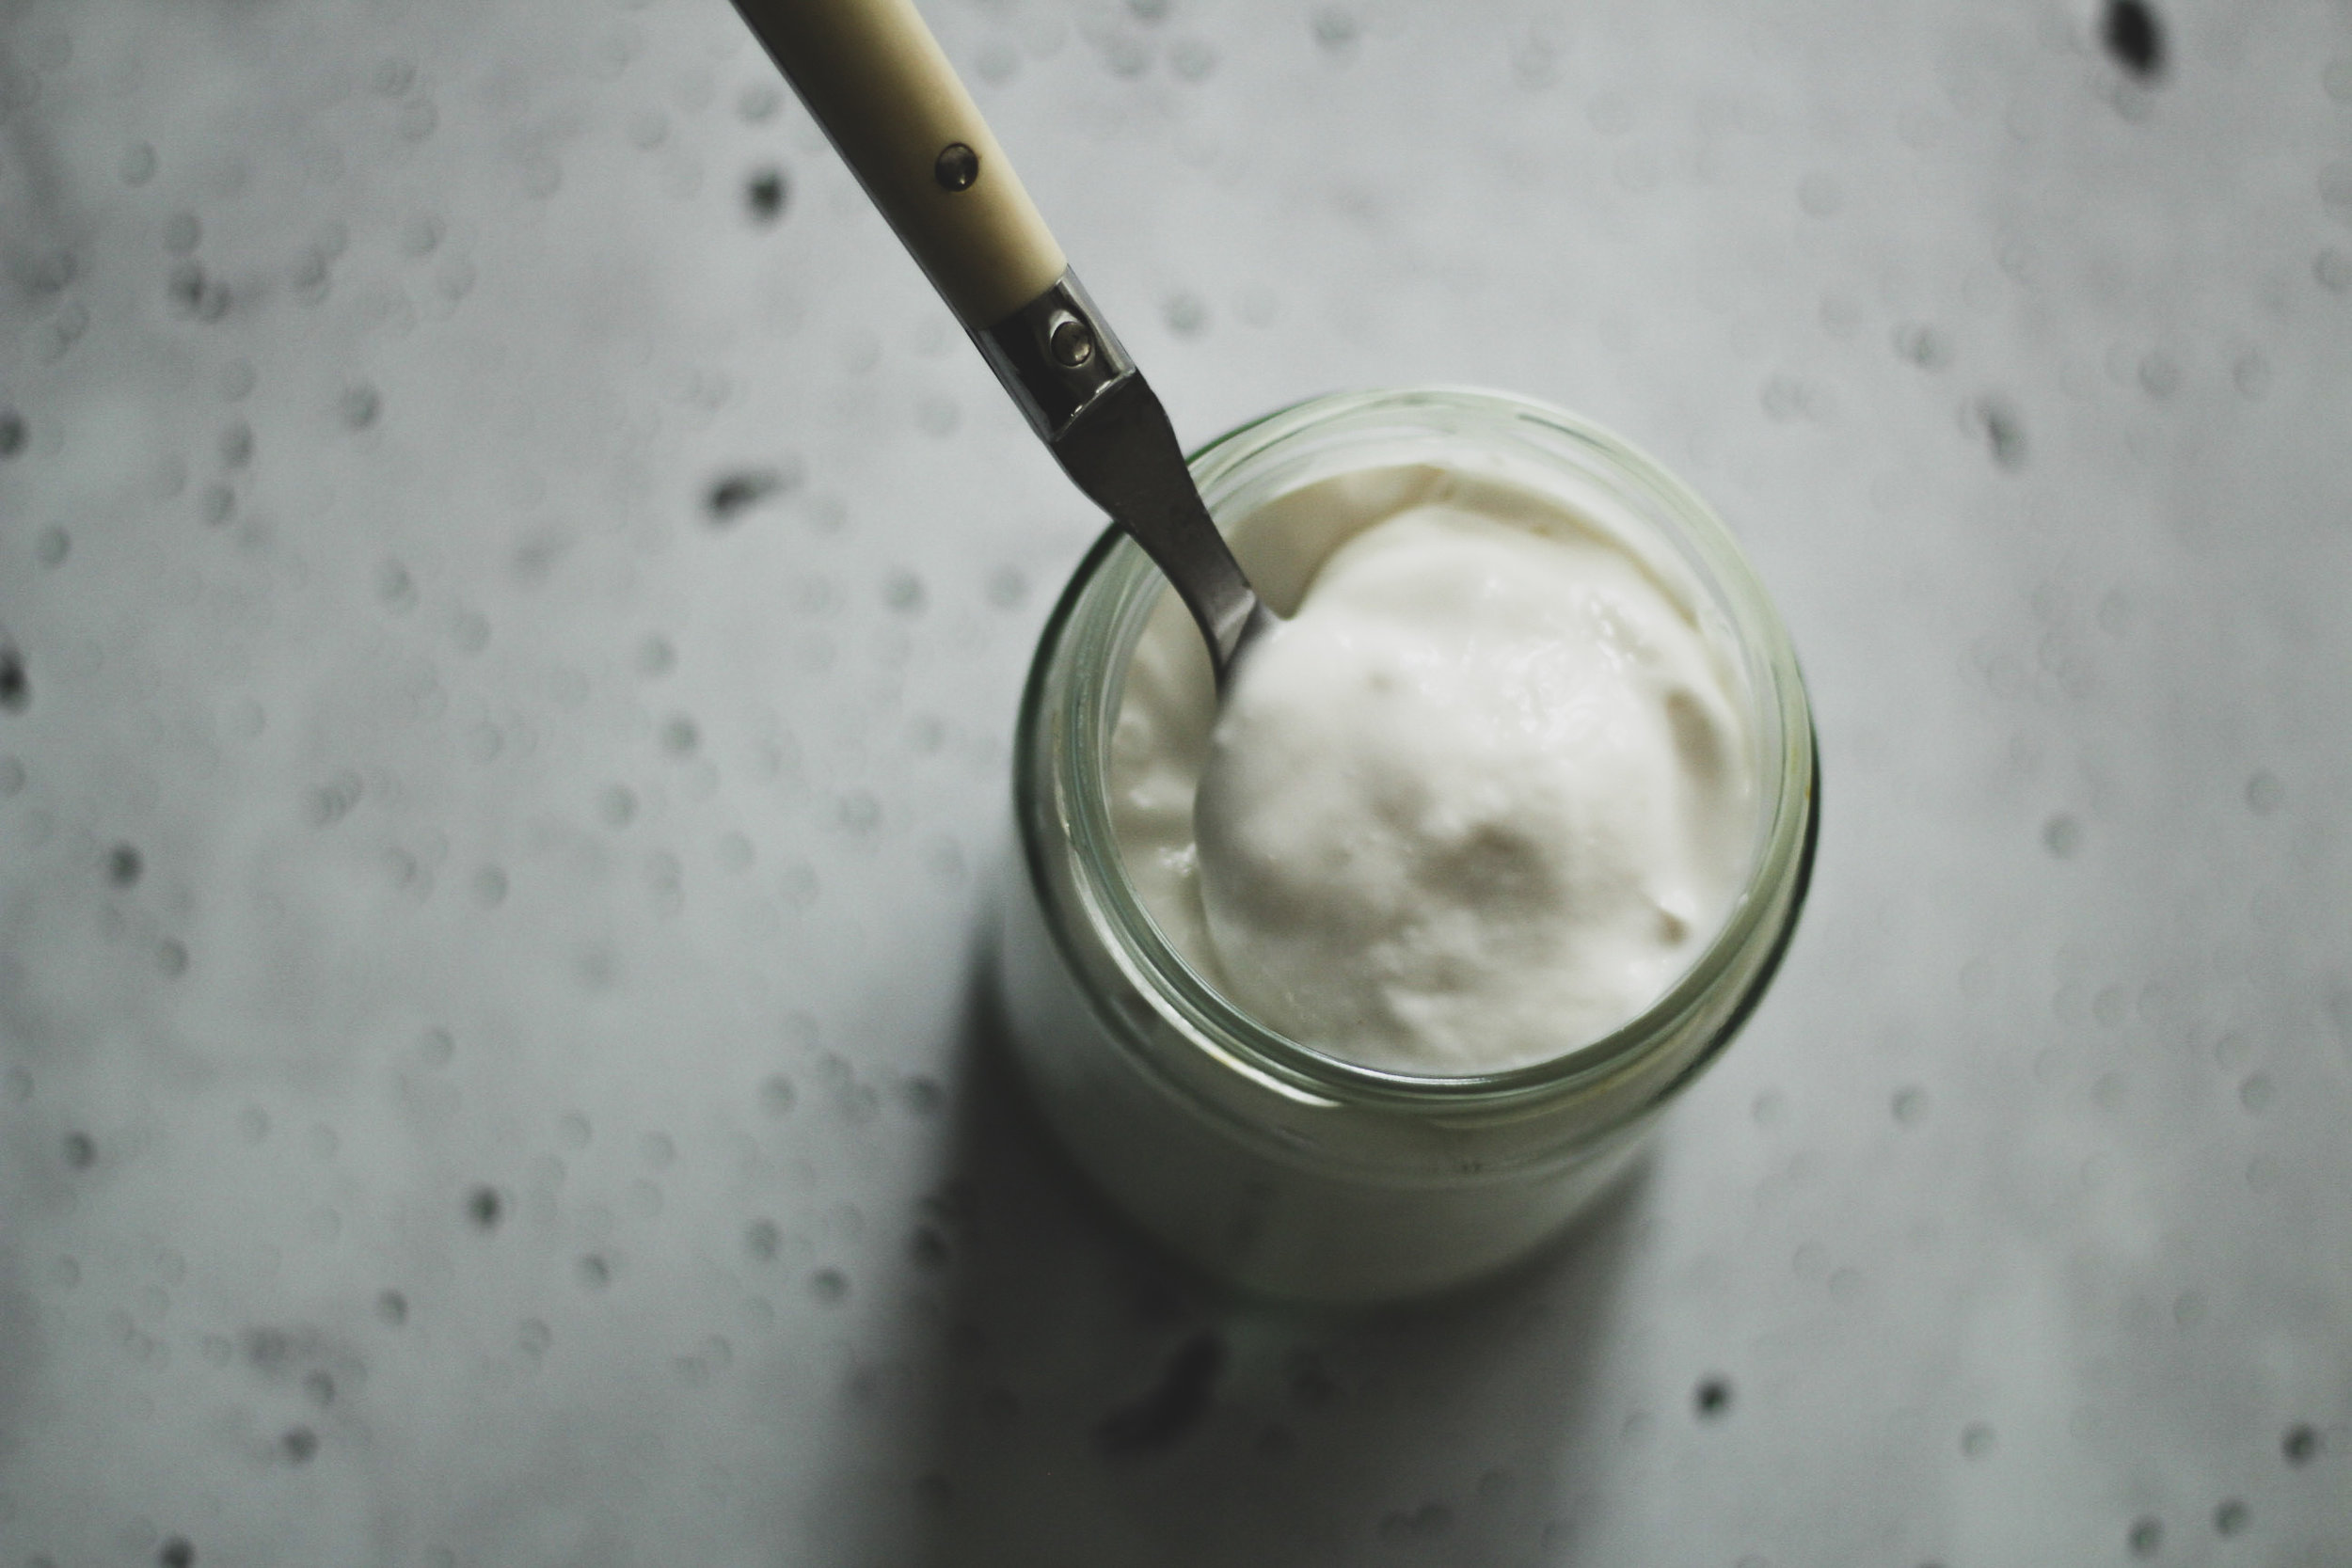
Homemade Coconut Yoghurt
At Casa De Lou we’re doing Plastic Free July!
This means, for the month of July we’re trying to use as little (hopefully none) plastic as possible. I did a quick stocktake of our pantry, fridge, storage situation and there wasn’t a lot we needed to change. Everything else in the pantry seemed do-able but switching to a homemade coconut yoghurt is a biggie for us. So are olives, semi-dried tomatoes and meat. Coconut yoghurt though, is one of those things, getting the right consistency I thought would be tough. I didn’t want to simply revert to buying this in a jar, although I think that’s an option in my area.
While my intentions are to go 100% plastic free for the whole of July. I’ll admit, we went out for Thai the other night and had leftovers, it was either food waste or a plastic takeaway container. We chose the container and to put it to good use in the house. Next time we go out I’ll try to remember a container for leftovers.
As a side note: habits can take a while to change. I don’t feel like I’ve failed because we were 3 days in to July and used a container! I take this experiment as awareness – our habits have already changed significantly and we are thinking about our environment and how we act in it. There’s no dogma, no stigma, no anxiety, no rules. One thing that really gets me down in the world is the pressure that is put on everything to be 100% perfect or it’s not good enough. This is why I’m telling you this story – let’s just be real. I don’t want to see the Wellness/Diet world shaming put on such good causes like food waste and reducing our plastic usage.
I’ve attempted the homemade coconut yoghurt train so many times before and every time I’ve failed.
Spectacularly! I really had to question what the heck was going on and still, I don’t totally know but I have a better idea now that I’ve had SUCCESS.
I’ve made home-made yoghurt so many times before. From cows milk and I think goats milk too. I make ricotta, I make labneh. I know they’re dairy but I’m well versed with the ferments, pickling, canning, curds, whey, jam making and this knowledge comes down to making a lot. I love taking a complicated recipe and making it simple, that’s my jam and I really don’t believe there’s any other way to learn but to roll up your sleeves and give it a crack.
I left the homemade coconut yoghurt attempts for a year or more because I couldn’t handle another failure of liquid runny coconut yoghurt or separated coconut yoghurt dribble.
Another side note – I think sometimes we’re just not in the right vibe to make something. Like it’s not our time yet. I know that sounds a little strange, but I persisted 6 or more times with this and couldn’t quite articulate what was wrong. Each time I learnt something though – which is imperative in cooking… to look back at what you did and review it (whether it works or it’s a flop and you’ll have plenty of both).
Back to the story…. N A I L E D I T! Cue the confetti (plastic free of course).
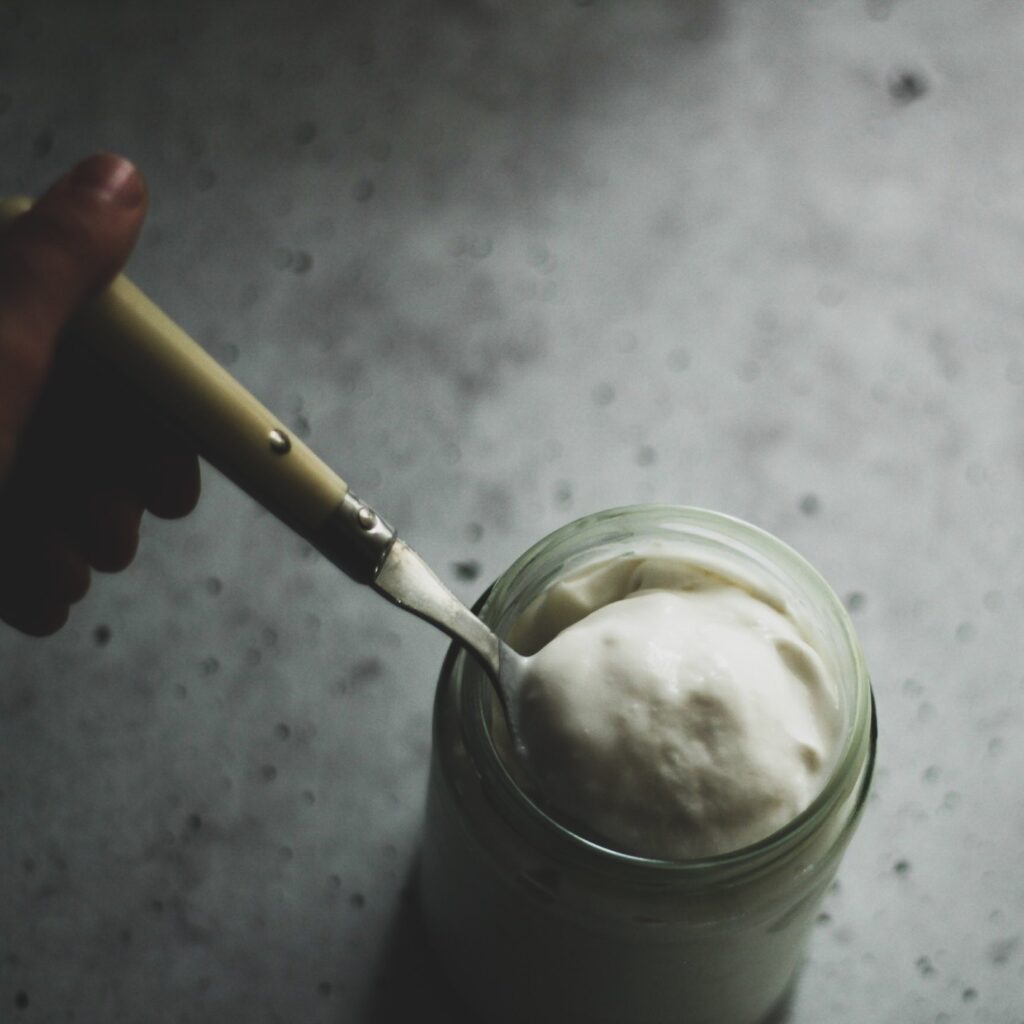
img src=”https://images.squarespace-cdn.com/content/v1/5c8a01c8e5f7d1034dd86ea2/1562298767574-TUWH95N1Z8O7FD0IXND0/Coconut-yoghurt-home-made-simple-thick-3″ alt=”Coconut-yoghurt-home-made-simple-thick-3″ />
Before you start: Sterilise your jars and lids and all equipment that you’re using.
Equipment
- All you really need is a pot, jar/thermos, a few tea towels or a blanket. But here's the full list, you can make do with less if you need to.
- Pot
- Thermos - I used my ThermoServer (Thermomix product). They look like this.
- Thermometer - not essential, but helps because you don’t want to add your probiotics when the coconut yoghurt mix is too hot. This will kill the bacteria. Also - check out my full equipment list on what’s in kitchen, I think a thermometer is a cheap but awesome addition to a kitchen.
- Dehydrator / oven
Ingredients
- 2 cans coconut milk. I used this. I think the quality is really important here. A coconut milk with 100% coconut milk and little water content some brands thin out with water.
- 2 tbsp arrowroot tapioca - like this one
- 3 tsp probiotic powder OR 4 probiotic capsules OR 4 tbsp coconut yoghurt from a previous batch
Instructions
- Sterilise your jars and lids and all equipment that you’re using.
- This isn’t as important as it is when you’re making jam or canning food, but, you need clean equipment so bacteria doesn’t ruin your creations with mould etc. I do this step as an extra precaution, so I don’t waste time, money and produce, but this time I took a lax approach to this and just scrubbed them well and filled with really hot water.
- Empty coconut milk tins into a pot and place on a low/medium heat.
- Take about 1/2 cup coconut milk in a mug separately and make a little paste with the arrowroot. Mix well and remove all lumps.
- Pour coconut milk / arrowroot mix into pot and stir well to combine. Bring this gently to a boil. Mix continuously so the coconut milk doesn’t stick to bottom of the pot and burn. This took me maybe 10 minutes, quite a while.
- Pour into your jar / thermos and let mixture cool so it’s warm to touch. Around 37 degrees C, if you have a thermometer. This is important as heat will kill the good bacteria in your probiotic yoghurt.
- When your coconut yoghurt mix is warm to touch, stir in your probiotic powder / coconut yoghurt / capsule contents. Mix well.
Put your yoghurt somewhere warm - as it’s winter this is more difficult but here’s my take:
- - A warm environment helps your (good) bacteria grow, which is what ferments the yoghurt and gives it it’s tangy thick creamy texture/taste.
- - I used my dehydrator, on 41 degrees C.
- - You can use an oven - if you can get the temperature that low - do it.
- - You can also leave the oven door open on it’s lowest temperature. BUT - be careful.
- - Place in your oven with the door closed, my mum does this with her yoghurt, recommended by her local Indian restaurant who make their yoghurt to serve.
Leave your coconut yoghurt to do it’s coconut yoghurt thing overnight, or all day, around 12 hours.
- Mine was in the dehydrator for 16 hours all up, I think. This is where you get the sour tang from and thickens it too.
Pop in the fridge and leave to cool. Or don’t, I ate some straight away. This is meant to thicken it even more and just settle it down.
- Mix through some sweetener if you want, but I prefer it ‘as is’ and I sweeten with my fruit or homemade jam.


")